Crafting DIY wood projects can be fun, budget-friendly, and get the creative juices flowing. But you don't want the final project to look like it was a DIY. You want it to look like a handcrafted, artisan item without anyone knowing it's not store-bought until you tell them. However, getting your homemade project to look professionally crafted takes some skill. That's why in an exclusive House Digest interview, we spoke to Char Miller-King, woodshop expert and owner of Wooden Maven, to get her advice on how to prevent your DIY wood projects from looking cheap. According to her, having the right kind of wood and tools makes a major difference.
"Start with a plan and a sharp blade, and your projects will blossom into something beautiful you can have pride in," Miller-King said. Investing in the proper materials doesn't have to blow your budget. So whether you're building a stylish wooden plant stand, coffee table, or jewelry box, the final project can wow all who see it if you follow these expert tips for crafting a professional-looking DIY wood project. Melamine Plywood
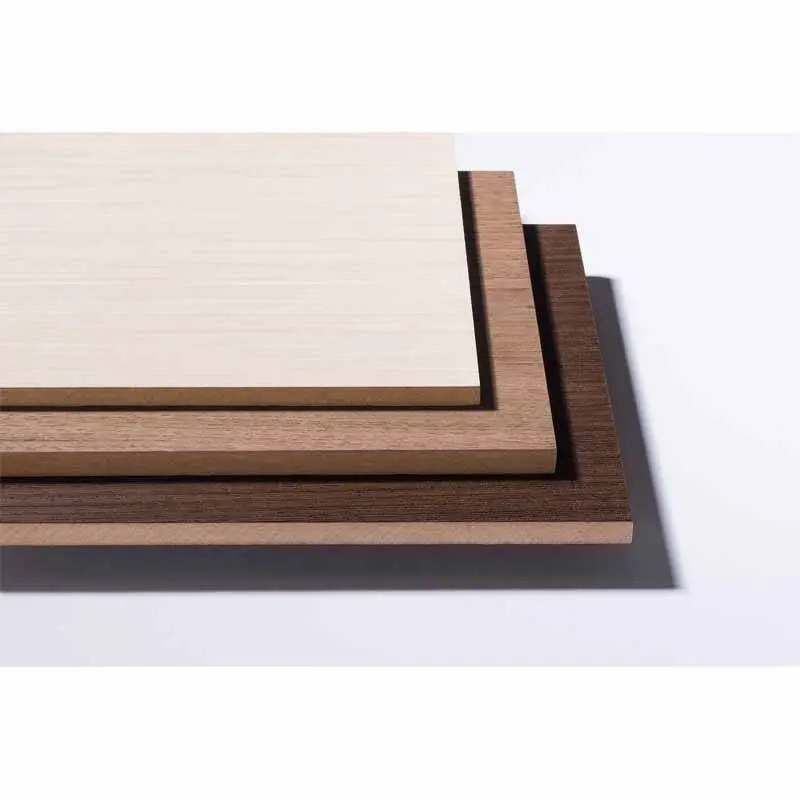
Frankly, the wood in your wood project is critical to how the design will turn out. While you can repurpose leftover firewood or wooden pallets, some crafts may require a specific lumber for a professional finish. "Three-quarter inch plywood is a great way to go," Char Miller-King exclusively told House Digest. Plywood is versatile, durable, and generally inexpensive. It's used in a variety of applications, from doors to banisters. "In order to get the best finish, look for cabinet grade plywood," Miller-King said. "Cabinet grade plywood is free of knots and has a consistent appearance."
If you want something more fancy, Miller-King suggested "to use veneered plywood, where the top layer is a hardwood, such as cherry or walnut." With veneered plywood you can fake the appearance of solid wood. However, the edges do give away that it's not the real deal. To combat this, you'll need edge banding, which is a veneered top layer that you adhere to the ends of the plank to carry on the hardwood look.
The woodshop expert also listed pine as a third option. "Premium select pine is generally free of most imperfections," she said. Softwood is lightweight, easy to work with, and stains well when treated with a pre-stain conditioner. So, you have a few expert-approved choices when it comes to picking the foundation of your wood project. Pair the perfect wood with the right tools and it won't look cheap when your creation is complete.
Another way to set your DIY wood project apart is to use the proper tools. You want the finished product to have clean cuts, level placements, smooth edges, and consistent staining. It's all in these finer details that separates a novice creation from a professional-looking one. Char Miller-King exclusively told House Digest, "Using a track saw or circular saw and cutting sheets of plywood with the mitered beveled will allow you to conceal the unsightly edges of plywood for a classier look." These tools are best for large layers of wood and can make all the cuts you need including cross, rip, miter, and bevel cuts.
Pine Plywood "If you are working with smaller widths of lumber, a miter saw is your best bet," Miller-King shared. So you don't have to worry about track or circular saws for all the DIY projects you can create with 1x2 wood boards. Employing these methods are a great way to improve your craftsmanship and have magazine-worthy DIY designs.