On the eve of the third-annual Lightapalooza conference in Phoenix, I pulled my last incandescent downlight bulb out of storage. The next time a bulb burned out in my home’s builder-grade can lighting, I would be stuck without a replacement.
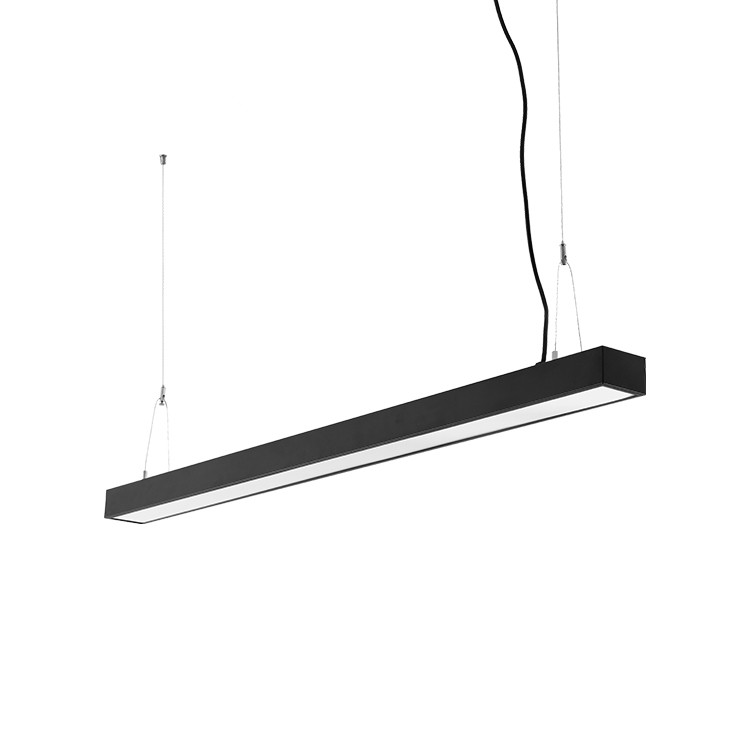
For many years, I had resisted the transition to LED or even halogen for my home’s in-ceiling, recessed lighting fixtures, but I now knew I needed to start planning for that inevitable switchover. Slim Panel Light

Several trips to hardware stores and big-box retailers had left me without an acceptable LED replacement for my 6-inch can lights. Though most of the bulbs I tried looked OK during the day, none dimmed down warmly (via my Control4 lighting control system) into the amber color range that I loved about incandescent lighting.
So off I went to Lightapalooza, where I hoped to gain more insights and recommendations from veteran custom integrators with experience in lighting fixture installation. To the rescue came the folks at DMF, who offered to send me a sample of retrofit DID2 Series downlights that they had been selling to the custom integration channel since 2021.
Related: DMF HQ Tour Offers Early Look at Three New Lighting Products
When I got home, the team at DMF asked for my ceiling heights and lighting trim sizes and soon sent an Edison bulb adapter, DID2 lighting module, and both a 6-inch and 5-inch DRD2T trim ring just to make sure that we had the right size and that I was happy with the new fixtures before shipping me anymore.
Once I learned how to remove my old trim rings by releasing two very dusty springs from inside the existing housing, I was ready for my first DMF installation. It seems so rudimentary now in retrospect, but when you’ve never done more than replace a bulb in a can lighting fixture, you are not entirely comfortable with the way you would install DMF’s trim rings that utilize spring clips.
For example, I did not realize (until after a video chat with DMF’s Mike Libman) that the two pairs of metal tabs inside the existing can light housing would be needed to guide the spring clips from the DMF trim into the housing. I had mistakenly thought that the spring clips were designed to be inserted into holes inside the housing, so I struggled mightily to make it all work. Once I overcame that hurdle, the install literally took a couple of minutes.
DMF’s Edison bulb adapter screws in just like a light bulb but instead of a light bulb on the other end, it has a wire with a little clip that connects to DID2 downlight module wire. One of the trickiest parts of the installation is attaching the green ground wire to a piece metal within the old lighting can.
The DMF trim rings and modules feel solid and extremely well built. When I powered up the new DMF fixture for the first time, it was right beside an existing incandescent can light and at the fixture’s lowest lighting percentage (about 5%) you could barely tell the difference in the warm amber glow between the traditional bulb and new LED fixture. I was sold! I was overjoyed that my future would not have to be night-time overhead lighting with the blue glow of a bus station.
Subsequently, I’ve learned more about correlated color temperature (CCT) in lighting, understanding that a CCT of 1400 Kelvin is considered “candlelight,” while 5500 Kelvin is a “mid-day sun,” and 10,000 Kelvin as comparable to “arctic sky” brightness. The sweet spot for me is 1800 Kelvin, which closely replicates the “incandescent warmth” that I desired. With that in mind, I checked the stats on the DID2, finding out that they have a CCT range of 3000K–1800K, which may not be “mid-day sun” level of brightness (but plenty bright enough for my home) and more importantly hit that “incandescent warmth” at the dimmer end of the scale.
After counting up the number of fixtures I wanted to replace, DMF was generous enough to supply 20 sets of 6-inch trims, DID2 modules, and bulb adapters. Only after I completed the installation, two weeks later, did I realize that I had failed to count three fixtures. When I sheepishly mentioned my error, I also told DMF that I had asked the company’s competitor AiSPiRE/WAC to send me two prototypes of their newly announced aimable retrofit fixtures to replace the “eyeball” lights in front of my fireplace hearth. I had been unaware that DMF also had an aimable options to match the DID2, called the DID4. Although I found that AiSPiRE/WAC aimable fixtures were equally well built and beautiful, they didn’t perfectly match the DMF DID2 trim design or the color temperature, so I accepted DMF’s offer to include two DID4 fixtures with the three DID2 additions they were sending. (I will find another location (likely in my home theater) for the AiSPiRE/WAC fixtures, because they are great products as well.
Back to the installation… Once I got in the rhythm of installing the DMF trims and lighting modules, the process was ridiculously simple. I found that it helped to bend the clips on the trims back and forth a bit before installing them because it loosened the tension just enough to make it easier to slide them up into the lighting can light housing. I also found that it helped to strip a bit of insulation back from the end the ground wire before installation, making it easier to wrap the wire around a metal tab within the lighting can. The order of steps was as follows during installation:
Here’s a video shot by my daughter Ella Glowacki removing an old traditional incandescent lighting trim and replacing it with the DMF DID2 retrofit LED lighting kit. I promise to be better next time and wear eye protection:
The DID4 aimable lights were just as easy to install, but also require pivoting of the fixture to the proper angles at my fireplace. I loved the way the DID4s modernized the ceiling, replacing the dated looking “eyeball” spotlights that had seen better days.
Once the installation was complete, I walked over to the wall and hit the “Day” scene through my Control4 lighting control system. The DID2 lights came on with a smooth ramp and their full brightness bathed the room in a nice clean light. I then tested my “Evening” scene and bathed in the amber warmth what was about as close to dimmed down incandescent like that I’d experienced. In fact, it sent me on a quest to find new LED bulb for my decorative table lamps and dining room’s decorative fixture to match (I found an “antique” bulb that did the trick).
I started playing around with the dimming to get a sense of how well the DMF lights would do at low levels. The biggest challenge was matching the DID4 adjustable (aimable) lights in front of the hearth/fireplace with the DID2 fixture flush to the ceiling. It gave me just the smallest glimpse of the challenges of designing “wall wash” and other aimable fixtures into a lighting system.
I’ve lived with the DMF system now for more than a month and could not be happier with the lighting performance, the smooth adjustment to various dimming levels, and the lack of flicker with the control system. The clean aesthetic of the white trim kit blends beautifully throughout the ceilings in my home, modernizing the look of a 35-year-old home.
DMF has created a very approachable product for custom integrators to get into the lighting fixture game and is helping save homeowners like me from having to settle for inferior LED bulbs or fixtures that don’t provide warm dimming or even quality daytime lighting.
Related: DMF Lighting Launches Artafex as Exclusive Line for Custom Integrators
Thank you to the following people who helped make this project possible: DMF’s Mike Libman, Andy Wakefield, and Norbert Villa, Technology Insider Group’s Carol Campbell, Millson Technologies’ Richard Millson, Premier Group’s Jason Barth, and AiSPiRE/WAC’s Patrick Laidlaw.
You must be logged in to post a comment.
I'm a CEDIA Member
Single Downlight © Residential Tech Today 2022. All rights reserved.